Tag Archives: N8861R

Annual Completed

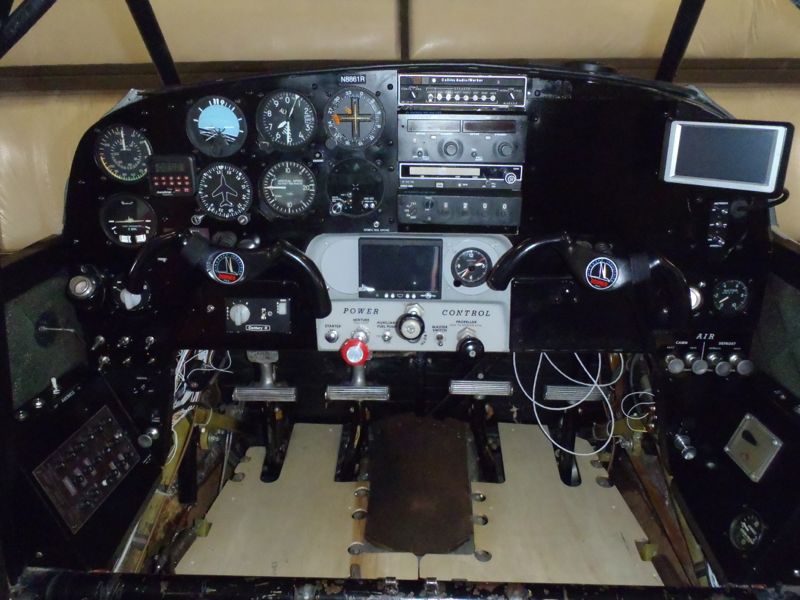
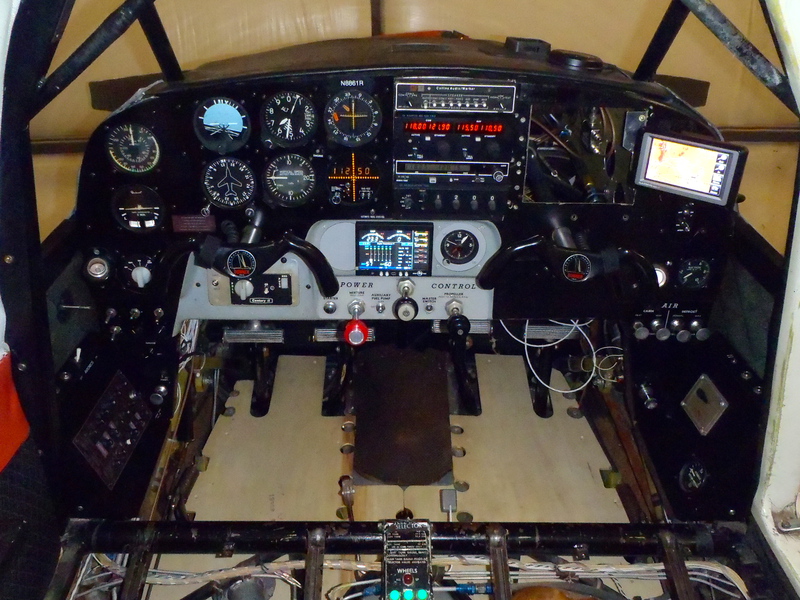
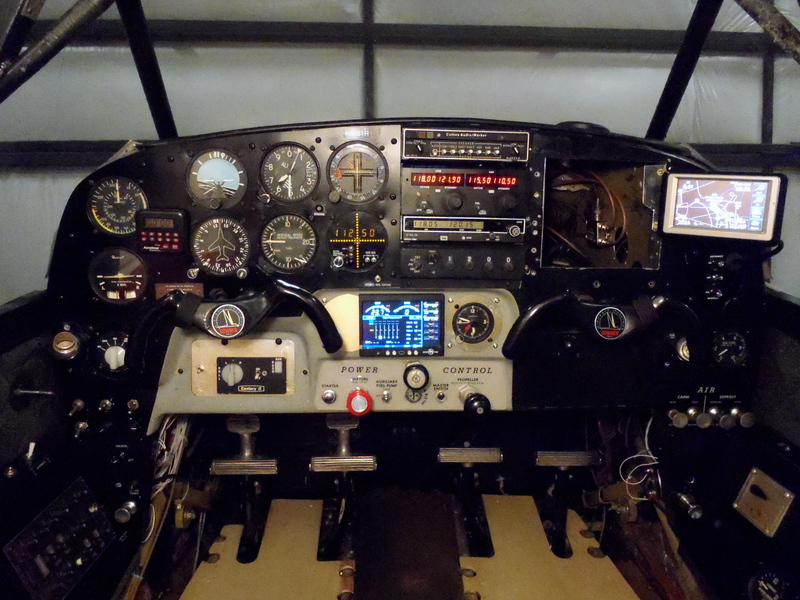
Well, the annual inspection is basically done.  There were a couple of surprises this year, including magneto filters that crapped out and needed to be replaced and the need to replace all the flexible engine hoses.  But all in all, a lot of progress was made:

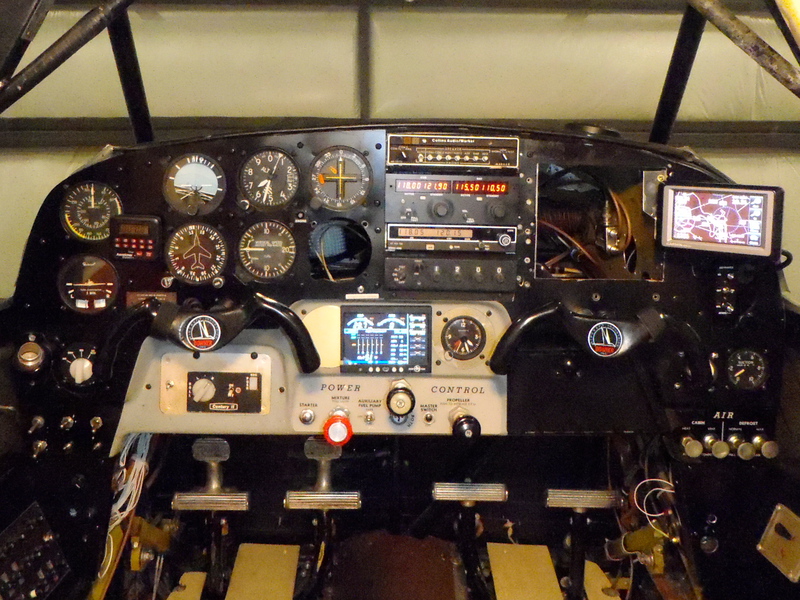
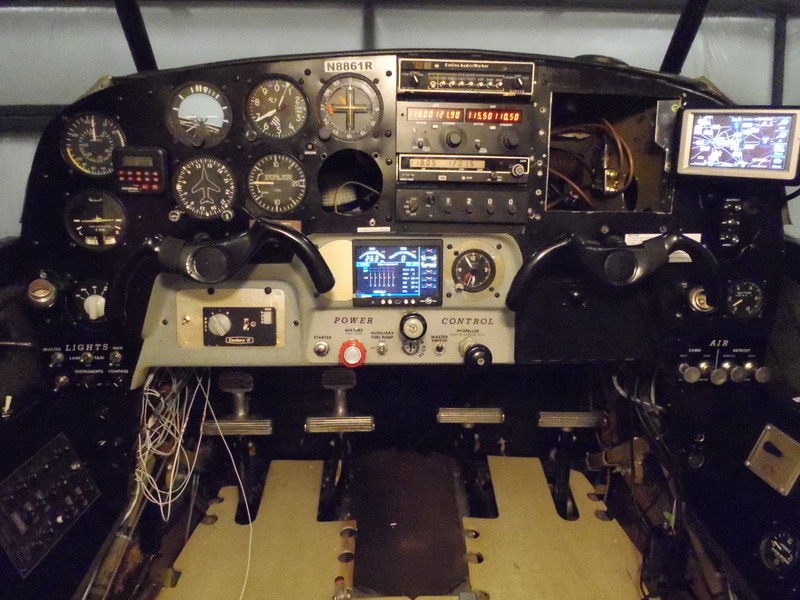
  • Replaced all the old analog engine instruments with a JPI EDM-900 electronic engine monitor
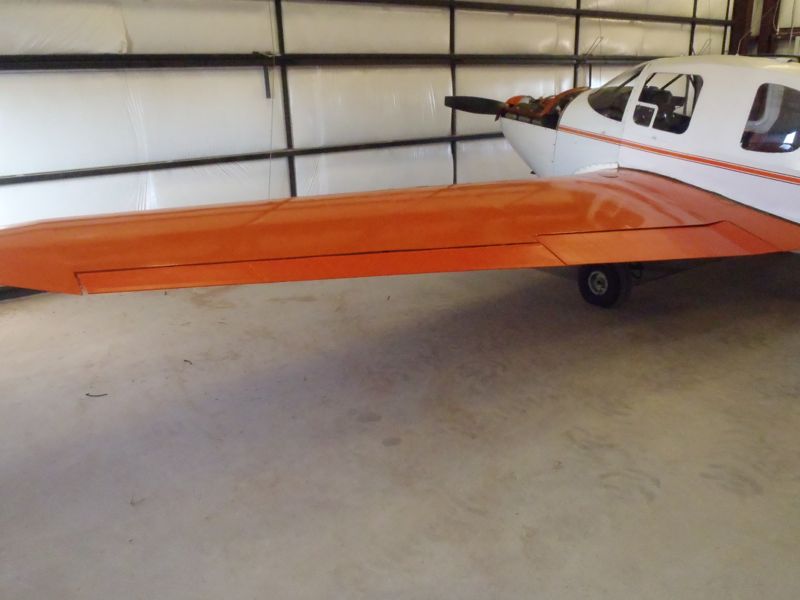
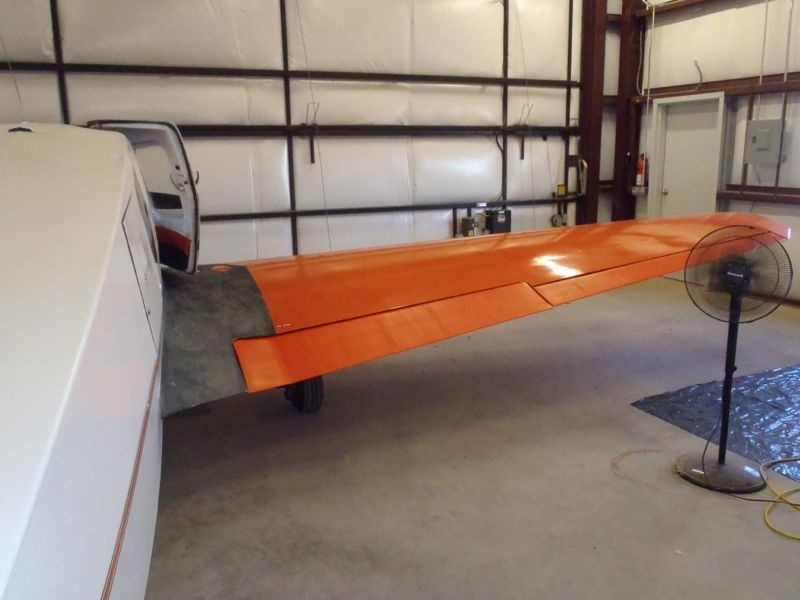
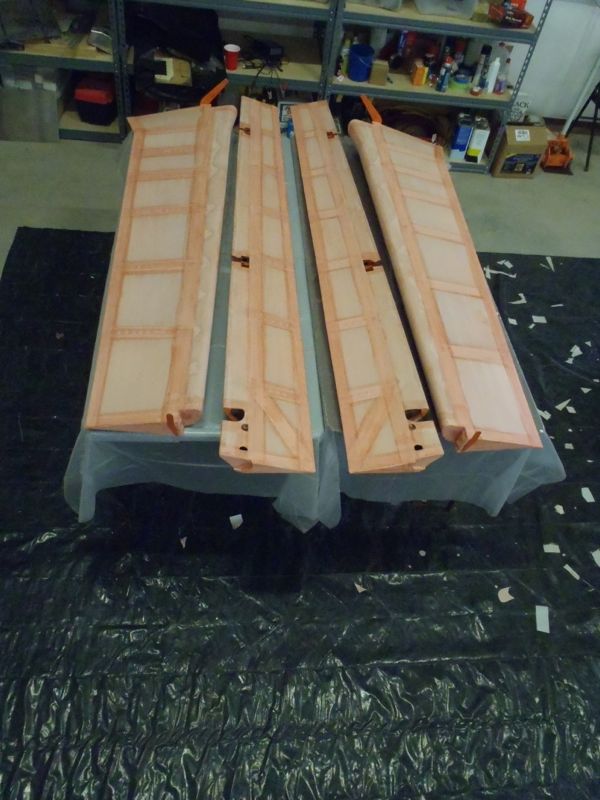
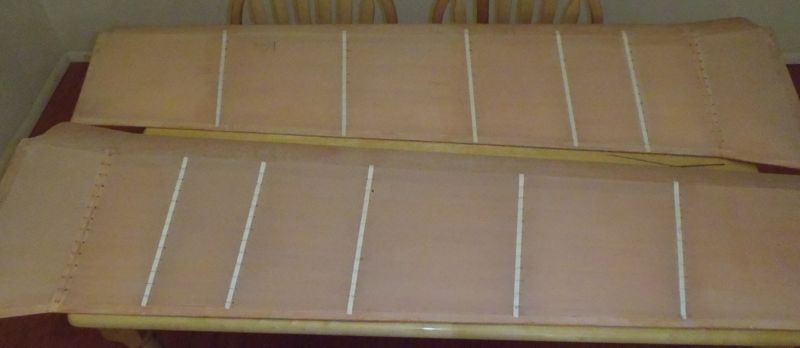
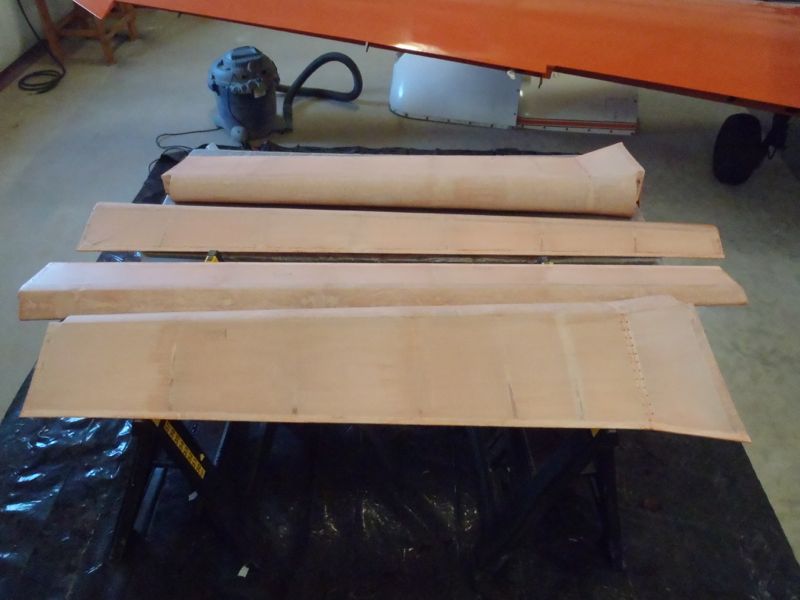
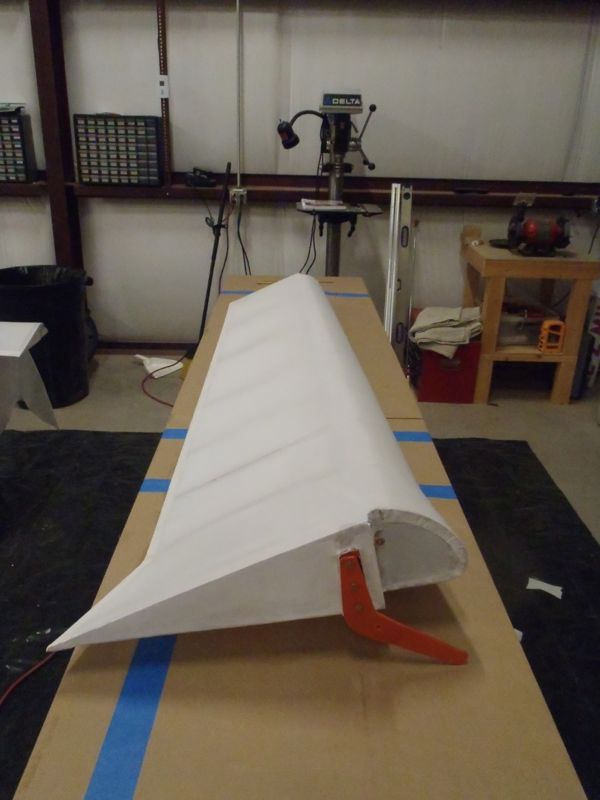
  • Recovered the flaps and ailerons
  • Replaced all the old circuit breakers with Klixon pullable breakers
  • Overhauled the hydraulic powerpack (control unit)
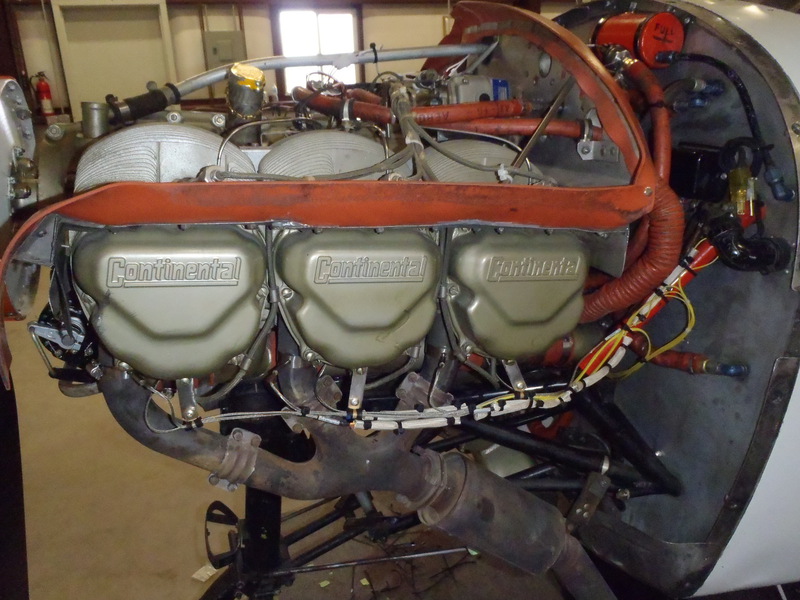
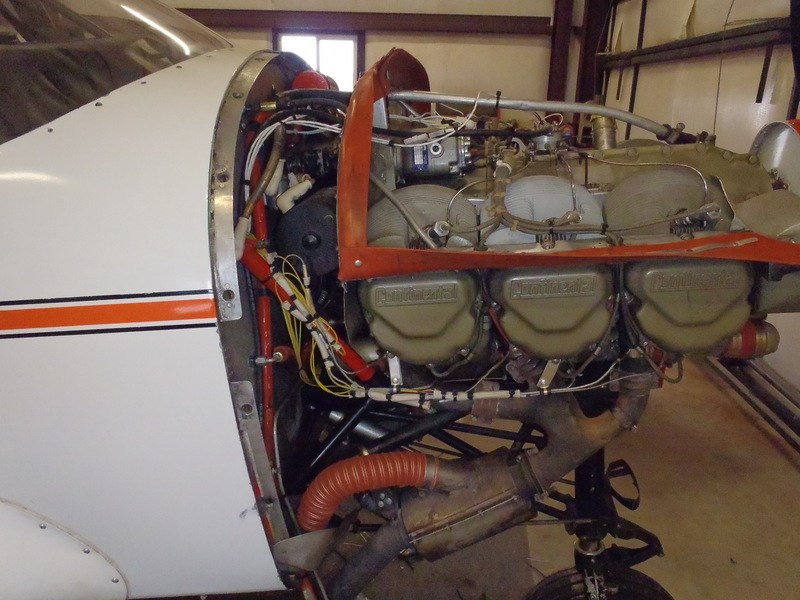
  • Replaced all the flexible engine hoses (oil, fuel, and hydraulic)
  • Adjusted the routing of the propeller adjustment cable so that it’s much smoother
  • Replaced the battery (yet another thing I was hoping I wouldn’t have to do)
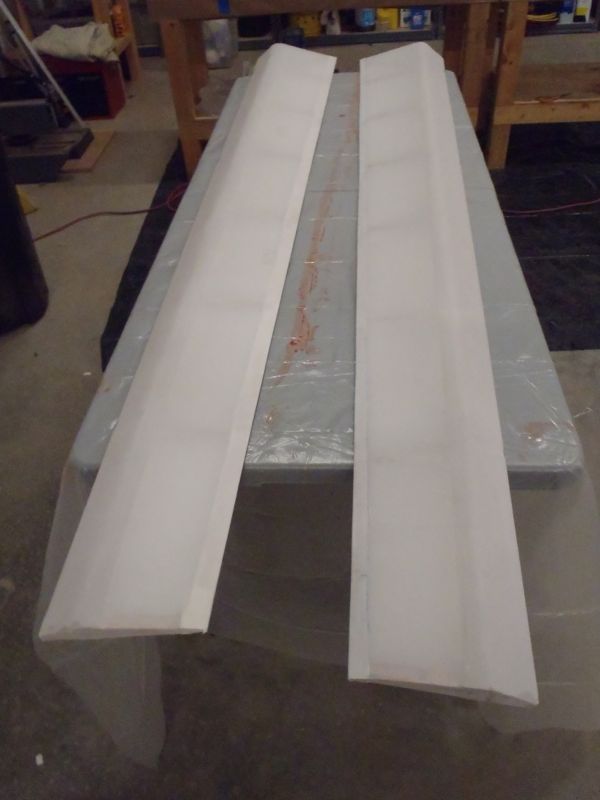
  • Rebuilt the lower engine cowling fiberglass, which was falling apart

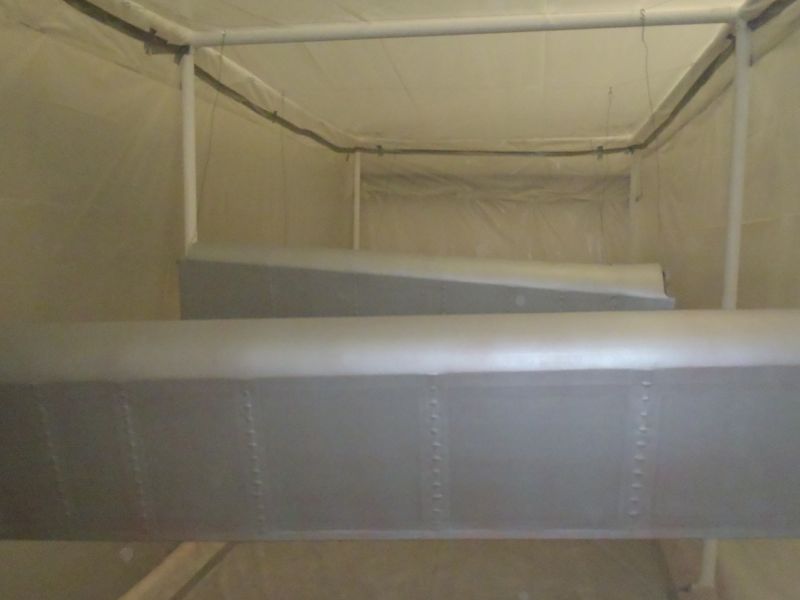
While we had the airplane leveled on jacks to calibrate the fuel senders for the EDM-900, we noticed that the horizontal and vertical stabilizers weren’t square, as they’re supposed to be.  The stabilizers are rigged based on flying wires (tie rods) connected between the fuselage, horizontal stabilizers, and vertical stabilizer and were clearly misadjusted.  It’s lots of measuring, adjusting, and measuring again, but I”m starting to work towards square.

OLYMPUS DIGITAL CAMERA
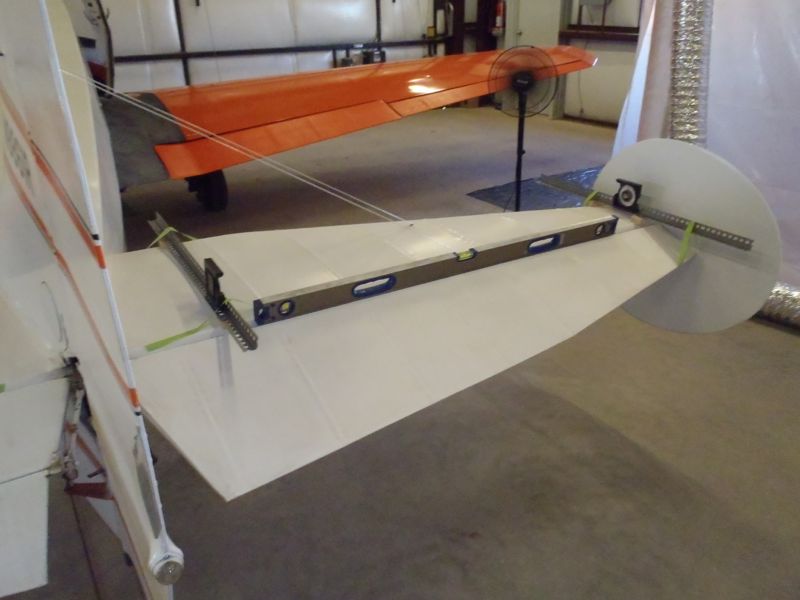
The adjustments suck more than it might appear because the top flying wires can only be adjusted by nuts which are covered by fabric.  So the fabric in the vertical stabilizer has to be cut (and later repaired) in order to make the adjustments.  I’m hoping that once everything is properly rigged the plane will be a bit faster.  And more importantly, won’t require the big, ugly trim tabs in the ailerons to keep the plane flying straight.

There’s a couple other small issues I need to resolve: the voltage regulator seems to be adjusted a bit high and the exhaust stack is slightly rubbing on the lower cowling and needs to be adjusted.

Fabric Work Done

Despite the lack of updates, there’s good progress on the airplane over the last couple of weeks. In mid-May, the airplane went over to AirTec for the annual inspection.  Nothing major was found, but there were a couple of smaller issues that I need to sort out before she flies again.

Before the annual inspection, I had to finish the flaps and ailerons.  When I last posted, I had finished taping the surfaces and it was time to paint.  There’s 8 coats of paint on the fabric: 3 coats of PolyBrush (the pink stuff, which is basically liquid vinyl), 3 coats of PolySpray (aluminum in suspension, provides a UV protection), and 2 coats of PolyTone (the color coat).  All the coats are sprayed on, which is a bit of fun, as it requires an air compressor, an HVLP spray gun, and some type of paint booth.

When I started the project, I had a 30 Gallon oiled air compressor, which is good, but just barely able to keep up with a small HVLP gun.  A neighbor was moving and gave me a great deal on his 80 gallon compressor, which can sustain much higher air output.  It’s also huge and requires a hard wired 15A/220V connection.

OLYMPUS DIGITAL CAMERAI forgot to take pictures of the PolyBrush and PolyTone coats, but here’s the control surfaces after the first coat of PolySpray is applied:

OLYMPUS DIGITAL CAMERAThe spray booth is 8’x8’x20′ and will be used to spray Jeff’s KitFox now that I’m done, so all the work of setting it up won’t go to waste.  You can see that the first coat is still a little thin, but that’s why there’s two more coats after.  By the time it’s done, there’s a solid UV block without much weight.

After replacing all the bushings in the control surfaces and their mounting points, they were reinstalled during the annual.  It was a bit tricky to get the ailerons on; the new bushings made everything really tight.  But they’re all on and there’s a lot less play in the controls now.  I’m pretty happy with how things turned out.  But I’m also not looking forward to recovering the rest of the airplane :).

OLYMPUS DIGITAL CAMERA OLYMPUS DIGITAL CAMERA

Taped

This weekend I managed to finish taping the flaps and ailerons, moving one step closer to flying again.  Any pressure point on the fabric (such as where the fabric goes from having structure under it to where it doesn’t or the rib stitching) is covered in a reinforcing tape.  The reinforcing tape is just lightweight fabric that is cut into 2-4″ strips, with pinked (little triangles) cut to promote adhesion.  Next step is to add one last brush coat of PolyBrush (the pink stuff) on the fabric to add more “glue” between the tapes and base fabric and then iron all the tape edges to make sure the edges are bathed in the vinyl left by the PolyBrush and likely to stick.  Then the spray coats begin!

OLYMPUS DIGITAL CAMERA

Rib stitching

The rib stitching process started today.  Jeff came over and helped with measuring and hole punching.  I then spent the evening rib stitching the flaps.  Since the fingers still work, the ailerons are probably on the agenda for tomorrow.

OLYMPUS DIGITAL CAMERAYesterday, I painted the autopilot panel and the blank panel where the autopilot used to sit and today I painted the back of the label plexiglass for the light switched.  The paint isn’t quite dry on the plexiglass yet, but everything else is reinstalled.

OLYMPUS DIGITAL CAMERA


Poly-Brushed

The flaps and ailerons are both heat shrunk and polybrushed.  The ailerons were pretty straight-forward, since they’re relatively squared off.  The flaps, on the other hand, have a bend on the inside edge that took some effort to get to work correctly.  The ribs are thin enough that getting the glue to stick through the first round of shrinking was difficult.  Next up, rib stitching.

OLYMPUS DIGITAL CAMERA

Control Surface Covering

The covering of the flaps and ailerons began this week.  With some help from Jeff, we got the fabric rough cut and the ailerons covered.  After the first round of shrinking, both look in pretty good shape.  The small iron I bought from Spruce has trouble maintaing 350 F, so I needed to borrow Jeff’s iron to do the second and third round of shrinking.  I covered the left flap this afternoon and did the first round of shrinking.  It all looks pretty good, although the glue on the first inboard rib (which is slightly convex compared to the butt rib and the second rib) released, so stitching is going to be a bit more work.

Next up for the ailerons is two more rounds of heat shrinking and cleanup, followed by brushing with poly-brush, then rib stitching.  Because of the convex rib, the first two inboard ribs will get stitched after the 250 shrinking, then everything will get brushed and stitched.  Then both get finishing tapes to cover the corners and stitches, followed by two spray coats of poly-brush, two spray coats of poly-spray (silver), then two spray coats of poly-tone (color).  Since there’s a 12 hour dry time between each of those coats, I’ve got a number of busy weekends.

OLYMPUS DIGITAL CAMERA OLYMPUS DIGITAL CAMERA

EGTs and CHTs

After a bit of fighting, I got all the cylinder head temperature probes installed yesterday.  The threads on the #3 cylinder needed a bit of brushing before the probe would start.  The first two threads of the #2 cylinder, on the other hand, were so mangled that some careful work with a tap before the CHT probe would thread.  With some help from Jeff, the exhaust gas temperature probes went in this afternoon.  It took a bit longer to get all the wires secured than it did to get the EGT probes installed.  With that, the only things remaining for the EDM install are securing some excess wire behind the firewall and installing the fuel flow meter.

OLYMPUS DIGITAL CAMERA OLYMPUS DIGITAL CAMERALast night I sprayed the gray on the cover plate behind the EDM and the reducing plate for the clock.  The gray is close, but not quite a perfect match.  I’m not going to worry about the mismatch this year, but next year I’ll spray the panel a matching gray.  I don’t want to spray in the plane with instruments installed and the pitot/static check isn’t due until next year.  If I open the static system to remove the airspeed, altimeter, or vertical speed indicators, I’d have to do the pitot/static check this year, which is expensive.  I didn’t paint the panel the autopilot is mounted in because I’m going to rebuild that to be a bit more secure.

OLYMPUS DIGITAL CAMERA

The hardware for the flaps and ailerons is all painted and mounted again, so it’s time to start focusing on the recover.


Watch out, he’s got a label maker…

Many of the labels that needed replacement since we bought the airplane were Avery removable white ink jet labels, which means that they were black text on a white background, generally on a black surface.  In other words, they looked a little ugly.  I had a bunch of gift certificates on Amazon, so a label maker with white on clear labels was procured.  The white labels are gone, replaced with white on clear, which looks much better.

OLYMPUS DIGITAL CAMERA

The Molex edge connector pins arrived, so the autopilot / nav radio connections are all wired up and the INS Nav is installed again.  All that remains behind the panel before the annual is replacing the vacuum filter and building a cover for the big whole on the right, so it’s time to turn attention to the flaps and ailerons.  Progress on that front was restarted today with the painting of the control surface attach points.

Cleanup Night…

Started spraying the color coat on the mounting hardware for the flaps and ailerons tonight so that they’ll be ready for the weekend, should finish tomorrow.  In between coats, secured all the interior wiring that got moved around during the EDM install and the circuit breaker panel rewire.  Everything seemed to end up in the right place, so that’s good.  Still have to remove some panels and paint, but since I’m still not sure whether I’m going to redo the panel for the autopilot, I’m going to hold off on paint a little longer.  The panel on the left side of the footwell had carpet that was falling apart but the left had no carpet and was repainted a couple years ago.  Since the carpet was falling apart, I decided to strip it down and just have painted aluminum.  The carpet came off pretty easy and I’ve almost got the sidepanel cleaned up enough to paint, but still have some work to do.

I did manage to find time to get the Downer decals installed on the yokes.  I’m really happy with how those turned out…

OLYMPUS DIGITAL CAMERA

The pins for hooking the autopilot up to the Narco Nav/Com should arrive Friday, so I should be able to wire that up and install the VAL Nav again and basically be done with the wiring.  The new panel for the lights arrived but needs a couple of holes drilled, so that will have to wait until the weekend (I need to get the right bits to drill fiberglass).

George Lives!

George the autopilot is back in the aircraft.  I moved the autopilot from the big opening above the right yoke to under the left yoke.  Two reasons for the move.  First, it opens the whole second radio bay for instruments.  While I currently only have plans for a transponder’s worth of space, might as well have more just in case.  Second, when flying in the left seat, I had to reach across the passenger every time I needed to disengage the autopilot, which is basically every time I needed to switch headings or VORs.  George had a tendency to turn to the right when the pilot push-to-talk was depressed when in NAV mode, so I took this opportunity to replace the nav indicator wires with shielded wire, which should solve that problem.  Of course, I can’t test that theory until the airplane’s back in the air :).

The GPS mount is also wired up and theoretically is talking to the EDM.  I’m not sure I quite followed the directions for setting up the non-primary instruments in the EDM correctly, so this is another one of those things I won’t know for sure until the plane’s in the air.  I’m not sure why I originally ran the power cable for the GPS through the panel above the right yoke instead of straight down to the panel holding the intercom.  It’s out of the way and looks better where it is now.

OLYMPUS DIGITAL CAMERA