Tag Archives: N8861R

Gear bleeding!

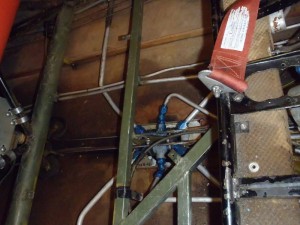
With some help from Jeff, the big accomplishment of the day was bleeding the hydraulic lines for landing gear.  It only took 4 or 5 cycles of the gear to get everything bled, which was a pleasant surprise.  Unfortunately, on the last swing of the day, the left gear safe light didn’t come on.  After a bit of debugging, it turned out that the bulb burned out.  The unfortunate thing is that it burned out between the second to last and last gear extension, so it was quite unexpected.  The Bellanca doesn’t have a gear light test switch, so swapping bulbs is the only way to check for bulb operation.

The outside air temperature (OAT), Manifold Pressure (MAP), and ammeter were successfully hooked up as well.  The MAP was a bit tricky, as I had to bend and flare a 3/16″ aluminum tube and then build up a (very) short 1/4″ Aeroquip 303 hose.  I had never done either before, so it was a bit of a learning experience.  I also verified that all three fuel level sending units are talking to the EDM, so the fuel gauges will work once I do the fuel calibration.

OLYMPUS DIGITAL CAMERA

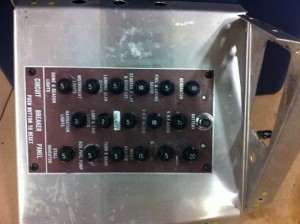
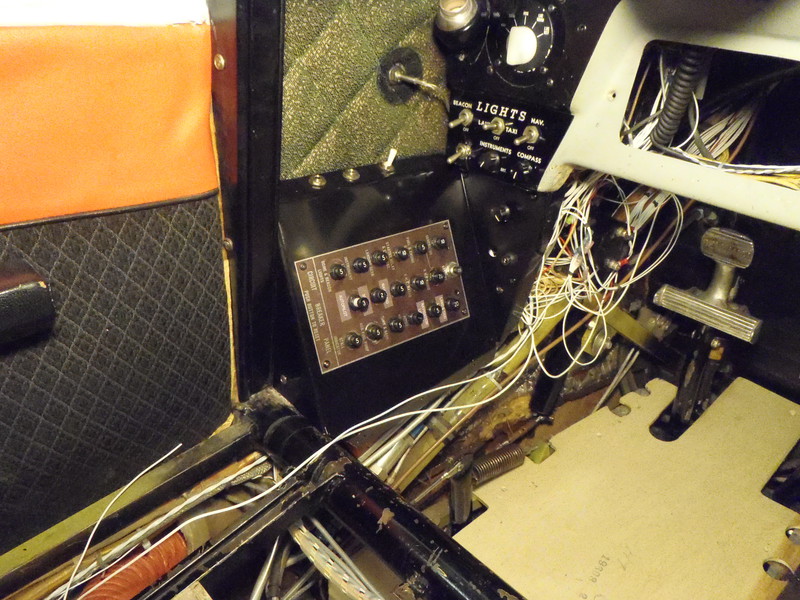
After realizing I had made a silly mistake with the wiring of the starter circuit, the breaker panel is finished.  Everything checks out and went back together fairly cleanly.  I still have to install the parking brake control cable (the hole at the bottom of the of the little triangular plate next to the circuit breaker panel.  Also need to get some white on clear labels and make up labels for the Avionics Master, the parking brake, and the intercom circuit breaker (the 2A breaker not part of the main panel).  You can also see the back part of the OAT sensor and the radio selector for the autopilot.

OLYMPUS DIGITAL CAMERA

Finally, the wire running across the left side of the panel is now back bundled together.  The autopilot panel (the big hole under the left control yoke) isn’t quite finished yet; hopefully this weekend).  I need to get some longer zip ties to finish securing all the cables behind the panel on the left side of the panel.  The intercom (far right side) panel is out and has a hole for the Garmin power cable.  The paint hopefully will be dry tomorrow morning and I can reinstall the intercom and Garmin tomorrow.  I need to wire the Garmin into the EDM so that the EDM can display MPG and fuel remain at destination, but that doesn’t look too bad.
OLYMPUS DIGITAL CAMERA

Power Up!

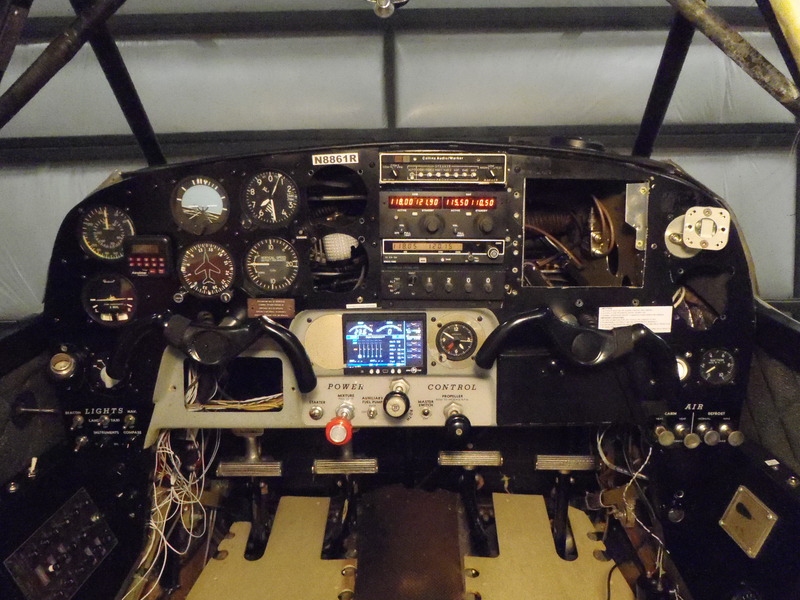
The remaining parts to finish hooking up the breaker panel arrived today, so I was able to wire it up and reinstall the panel.  I also installed a new wire for the strobe light, in hopes that I can quiet some of the EM noise in the intercom.  Since the radios aren’t in their racks, this is a bit hard to test right now, so I’m still hopeful :).  Almost everything powered up, with the exception of the starter/cigarette lighter circuit, which trips immediately.  So I’ll have to pull the panel back off tomorrow morning and try to figure out where the short is occurring.  As you can see, I also have to do some more work securing the wire bundle running across the left side of the panel.

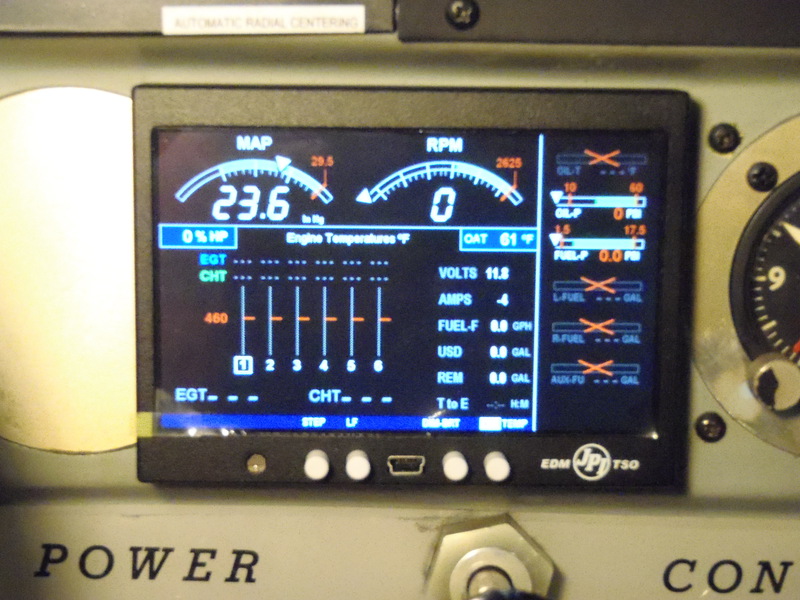
OLYMPUS DIGITAL CAMERAThe JPI EDM-900 powered up just fine (woo!).  Obviously, a number of sensors still remain to be wired up, which will remove all the red Xs.  I think the fuel level gauges are inop because I haven’t gone through the calibration process yet.  Otherwise, I have a big problem.

OLYMPUS DIGITAL CAMERA


Fuel Gauges?

I need a couple parts from Aircraft Spruce to finish wiring behind the panel and to use AirTec’s shear to make some panels to cover removed instruments before I can close up the instrument panel, so hard to make progress there until this weekend.  Tonight I got the fuel level gauges wired into the EDM hardness and secured the wire bundle that runs along the front spar carry-through (since the fuel sender wires were the only things that needed to change in that bundle).  Of course, I can’t verify everything is wired correctly until I finish with the breaker panel and can power up the EDM.

OLYMPUS DIGITAL CAMERAAs you can see, there’s still some major pieces missing from the panel and a rather large rats nest of wire to be cleaned up, but the panel’s starting to come together…

OLYMPUS DIGITAL CAMERA


P-leads and wires

The only finished project of the weekend is the installation of new P-leads to replace the original ones, which were well beyond ratty and were starting to fail (one of them had to be spliced recently).  P-leads are like ignition cables for a car, but in reverse in that the magnetos are designed to produce a spark unless the rotor is grounded to itself.  The P-lead is a wire running from the magneto rotor to the switch (where it is grounded when the switch is offed).  Since there’s huge voltage spikes in the magneto (the sparks…), there’s lots of noise in the P-lead, so it’s shielded wire (which was part of what was failing).  Anyway, the new cables look halfway decent…

IMG_0251I started running all the data wires for the EDM-900 (there’s a crapload of them).  It looks like everything is going to fit, although I’m still not entirely sure how I’m going to setup the fuel flow sensor.  I need to get some smaller hose clamps to secure the oil pressure and fuel pressure sensors and put some more holes in the firewall.


Hydraulics!

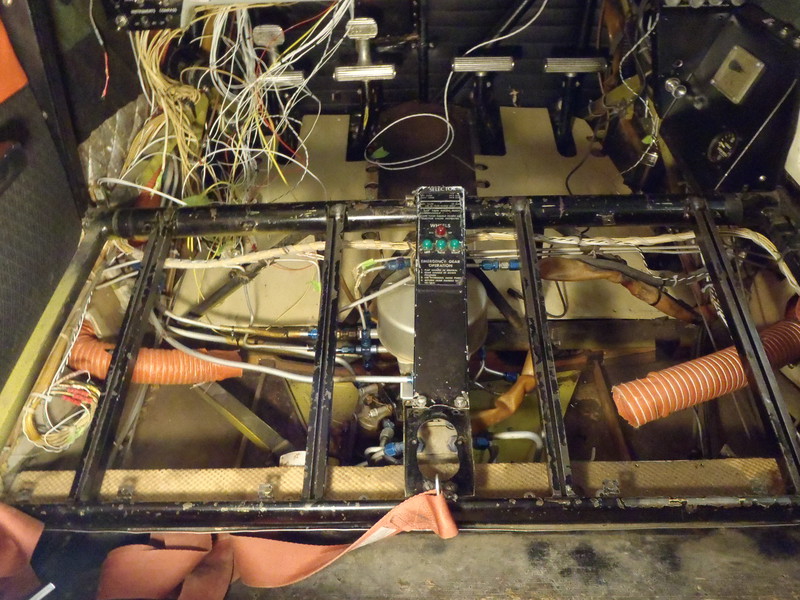
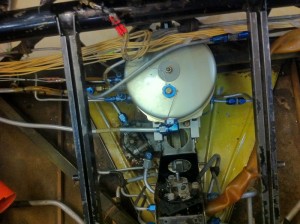
The hydraulic powerpak arrived from its overhaul today, all nice and shiny.  Installation went much more smoothly than removal, probably because I khow everything fit together.  I was able to pressure check the flaps and the gear down lines and everything checked out ok.  I need to put the plane up on jacks next weekend and hook up a mule (electric hydraulic pump) to swing the gear and work all the air out of the system.  Thus far, no leaks!  Once the gear is swung, I’ll be able to remove the straps securing the gear and move the airplane around, which will be helpful when it’s time to paint the flaps and ailerons.

IMG_0238

I finished drilling out the holes for the circuit breakers from the new support panel and made sure everything fit.  It all looks good, although I need to make up some new labels, as I decided to move the landing/taxi and navigation light fuses to the bottom row and move the transponder and autopilot from the bottom row to the middle row so everything on the avionics bus is in the middle row, making the bus bars a bit easier to run.  I’ll strip everything back apart this weekend and paint everything before putting it all back together again.  Sigh.

IMG_0239


Service Letter 66 Completion

Finally completed something on the annual tonight!  I reconnected the T connections for the main fuel tanks, which took a bit of convincing as adel clamps and I do not get along.   With that, the changes recommended in Service Letter 66 to raise the fuel drains level with the bottom of the fuselage is complete.  Woo!

OLYMPUS DIGITAL CAMERAI also stripped the circuit breaker panel so it’s ready to be painted and built a backing plate for the panel since some of the old breakers had a larger neck than the Klixon breakers I’m installing.  The reducing plates and the cover plate came yesterday, so I prepped those for paint and painted the reducing plate where the autopilot selector will sit.  I still have to find a gray paint that matches the engine instrument section of the panel.


Varnish and Circuit Breakers

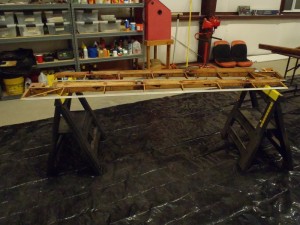
Tonight I applied the second coat of varnish on the flaps and ailerons.  Assuming the replacement bolts for the attach brackets arrive tomorrow, I should be able to set up the fabric this weekend.  Some repairs were required, in particular some reinforcing around the leading edge where the control attaches on the ailerons and a new stringer on the left flap (the flaps have a bend, which is a stress point on the trailing edge material).

OLYMPUS DIGITAL CAMERAI also removed the circuit breaker panel tonight (the hard part was labeling all the cables before removing them).  The breakers are all getting replaced with modern Klixon breakers (which are pullable, yay!).  I was originally not going to replace the 35A battery breaker, but the old one shattered during removal, so I guess I’m replacing that as well.  Unfortunately, over the years the circuit breakers have been replaced, sometimes requiring larger holes, sometimes not drilled in a straight line.  So I have a bit of work to do figuring out how to support the new breakers and get them straight enough to attach to a bus bar.  Again, things to do this weekend…

OLYMPUS DIGITAL CAMERA


The worlds longest annual begins…

So what might end up being the world’s largest annual has begun. Thankfully, the IA (aircraft mechanic) who works on my airplane is great about letting me do a bunch of the labor. Thankfully, I enjoy working on the airplane, but I do tend to spend a lot of time in the hangar during annual inspection season. This year, I’m trying to catch up on a number of little things:

  • Recovering the flaps and ailerons. The flaps take a lot of abuse because they sit so close to the ground during landing. One of the ailerons was slightly twisted, likely because someone wasn’t careful during the fabric shrink last time they were recovered, so fixing that should help in getting the airplane close to rigged correctly.
  • Sending the hydraulic powerpack (the thing that makes the gear and flaps go up and down) out for overhaul. It was seeping a little bit of hydraulic fluid out of the flap pressure adjustment, so it was time to send it out. Unfortunately, getting it out from under the front seats is a bit of a pain since it just barely fit in the first place.
  • Installing the service kits for a couple of old service letters that raised the fuel drains flush with the bottom of the airplane so that they wouldn’t get ripped off in the event of a gear up landing.
  • Replacing all the engine gauges (which needed overhaul) with a JPI EDM-900, which will free up some much needed panel space and give me exhaust gas and cylinder head temps for all 6 cylinders. The EDM-900 also gives fuel flow and fuel totalizer, meaning that I’ll be able to be much more precise in fuel management.
  • With the engine gauges by the left seat pilot removed, there’s space for the autopilot out of the way so that radio bay where it lives now is available for, well, radios. At the same time, since I had to remove a bunch of wiring to get the EDM-900 installed (and the old stuff out), I’m going to wire the nav input for the autopilot to include a selector for both nav radios. When we installed the radios a couple years ago, we only wired the autopilot to the VAL nav unit because the other unit was a King KX-145, which wouldn’t drive the autopilot. It’s since been replaced with a Narco Mk-12D, which is both a better receiver than the VAL and can drive the autopilot. So more wiring fun…
  • Since I’ve got most of the wiring bundles ripped apart to clean up the EDM-900, I’m also taking this opportunity to replace the 53 year old circuit breakers with modern breakers. In addition to being calibrated properly, they’ll all be pullable so equipment can be disabled in flight. The main bus was a poor design, so that will get updated as well. Once it’s done, the main bus should be able to handle 60 amps (it was originally designed for 35 amps) when I replace the generator with an alternator in the future.
  • If we’re not horribly behind come April (when I hope to do the annual inspection), I’m also going to try to deal with the fact that the horizontal stabilizer and elevators aren’t quite rigged correctly.

Obviously, quite a list. I started a couple weeks ago with the removal of the flaps and ailerons. They’ve now been stripped of fabric, sanded, repaired (the trailing edge of one of the flaps had some corrosion), and now varnished. I still have a coat of varnish to apply, hopefully on Wednesday. This weekend will start the actual covering process. Hopefully I’ll be able to get the fabric glued down and the first shrink done so that I can start stitching the following weekend.

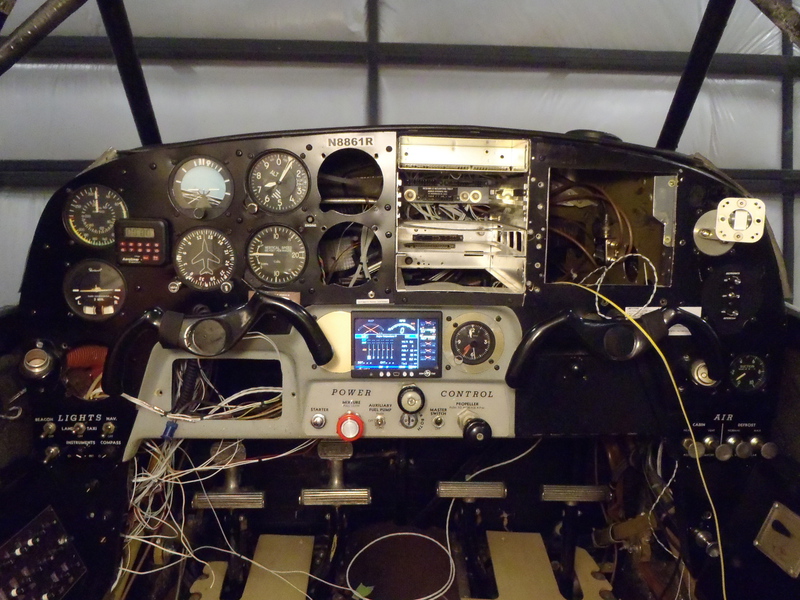
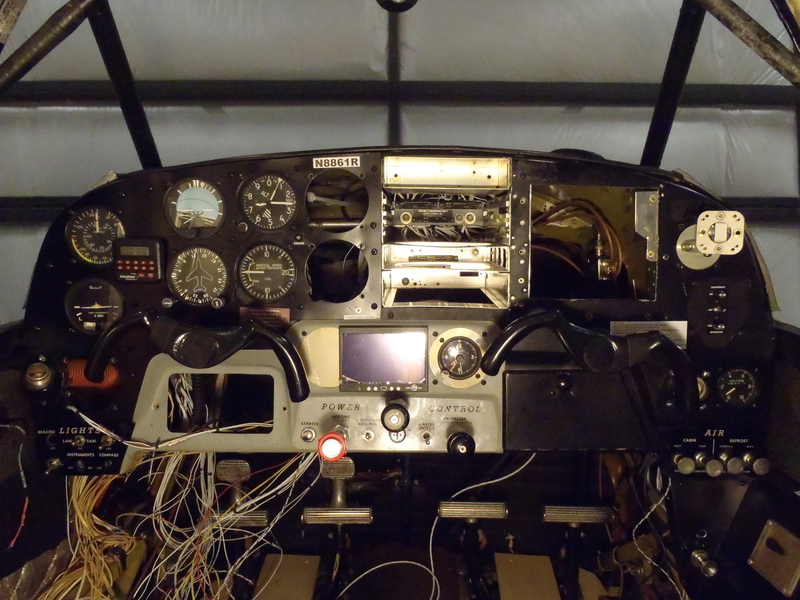
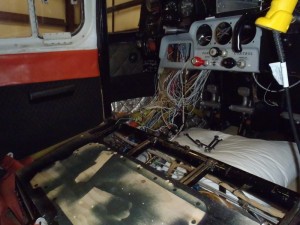
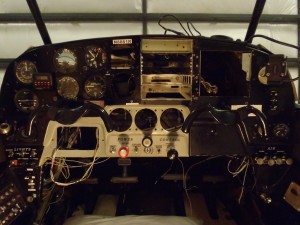
On the EDM front, the panel’s stripped as far as needed and I’ve started pulling the wires that are no longer needed. The alarm light is installed, just so that I could claim I’ve installed something :). I’ve generally figured out where I’m going to put all the sensors and wire bundles, but it’s going to take a little while to get everything in place. Currently, the panel looks a little rough:

Empty panel

2012 Flying in Review

A winter storm is (literally) blowing through central New Mexico tomorrow, so it looks like my flying is done for 2012. It’s been an interesting flying year, with 37.7 hours and 46 takeoffs and landings through the year. The year started with a fun trip to Crested Butte to visit Pete, which involved some nice winter flying in the Colorado Rockies. Flying a pattern in Gunnison involves a downwind right up against the mountains, which was really cool. After some pretty serious engine work, I took the Bellanca to South Bend in July, got weathered out of flying to OSH, had a blast at OSH, and spent 9.5 hours dodging thunderstorms, bumps, and headwinds in one day flying home. The fall saw me buying my partner out of the Bellanca, so it’s all mine now :).

The start of 2013 brings a lot of work on the Bellanca. I’ve wanted a full engine monitor for some time, but panel space is a major problem. So after trying a lot of mock-ups, I’m going to install an EDM-900 primary, which will replace a lot of the aging instruments in the plane. The flaps and ailerons were painted with Emron before the Stits STC changed and the paint on the flaps has taken some abuse over the years. Combined with a bent aileron and it’s time to recover the wing control surfaces. Finally, the hydraulic powerpack is off to overhaul. So it will be a busy spring with maintenance, but hopefully some good flying time later in the year. The EDM-900 should also help run the airplane much more efficiently than I can with the single EGT/CHT today.

106.8 hours in the Bellanca

After a long hiatus, I’ve decided it’s time to resurrect the blog.

A little under 3 years ago, I bought a Bellanca Cruisemaster 260 with a neighbor. The Cruisemaster 260 is the last of the Cruisemaster line, also known as the Cardboard Connie due to its triple-tail configuration. The Wikipedia Page has more information about the Cruisemaster line (although not much). The short description: fast, fun, good capacity, plenty of power.

We decided to take the plane to Airventure this year, and I flew the plane out to South Bend for the month of July to deal with some midwest travel for work and see the ‘rents. We ended up not flying to Oshkosh due to weather, but it was still fun to fly out to the midwest and stretch the plane’s legs a bit. The flight home was a bit of a disaster, taking 9.5 hours of flying over 14 hours of daylight, most of it in bumps of nasty headwinds. But it ended with me crossing the 100 hour mark in the Bellanca. I almost know what I’m doing in the plane these days!